Furniture Design


About Project
Lighting
-
Started With Sketching, picked one sketch, then made a model with that sketch.
-
Created half scale then full-scale model.
-
When creating the curve for the full-size scale model, found objects that are round to rap it around for a mold.
-
Sanded the plexiglass to hide the light and used a heat gun to warm up the glass.
-
Bent the plexiglass to create the curve shape, attached the LED strip on the inside to create a glow.
-
Created a 3D element to hold the light at the top.
Process:
Sketch

Revit Model

1/4 Model

Half Scale


About Project
Chair
-
Collaborated with other students and worked in a group of 5.
-
Strong communication skills and met deadlines.
-
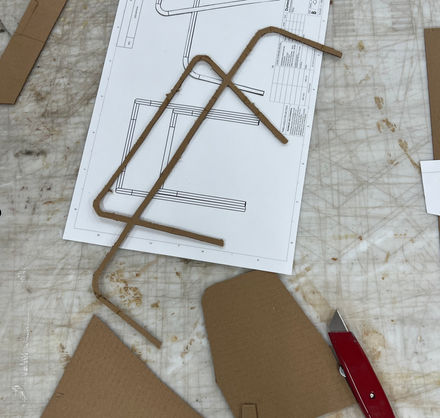
Started With Sketching, picked one sketch, then made a model with that sketch.
-
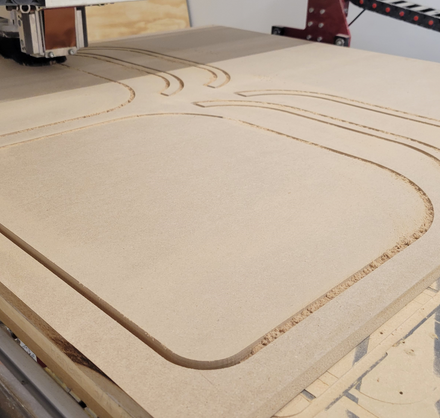
Created half scale then full-scale model.
-
Used a metal for the back of the chair and the legs and used wood for the seat.
Process:
Steches

Software Steches


